Effie

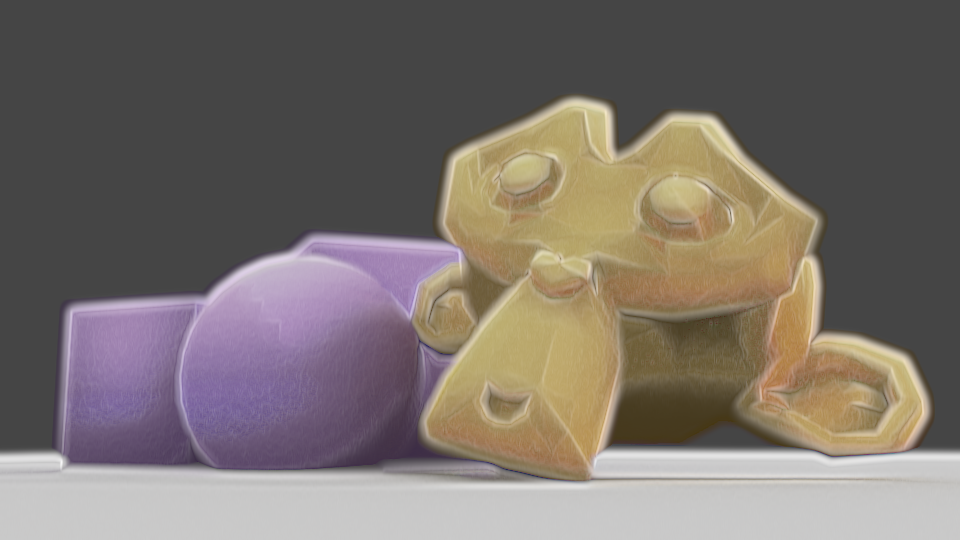
So, I finally finished a model.

I wanted to make my Mariku model, but I decided to do a test model of another character first for practice and to see how my workflow would go. I decided to make one of Effie from Descender, before she was Queen Between.

I did two different lighting angles to test it. I’m fairly satisfied with my shader at this point….But not how I’m using it. I need to get more used to it, and adjustments I need to make to account for it. For example, the legs show through on the two images in several places where I forgot to turn on the clipping mask. I’d like a way to render them all as if 2d, if possible, all on one alpha layer, but I don’t know how I’d go about that with them as separate objects.

I also see I should change my linework. I was quite happy with the sketchy effect I was getting, but in practice, I don’t have the control I want; the nostrils, for example, get lines when I wouldn’t want them to, and it’s just…Inconvenient having to wait to see how it’ll look. I want as close to real time feedback as I can get.

I also need to work out the rigging. I used a proper armature this time, and then used the Data Transfer modifier to transfer the weights onto the clothes. She lacks her jacket in the render because I couldn’t get it to copy them and didn’t want to have to stop and rig that manually. I wanted to use the Mesh Deform modifier, but it was finicky and unreliable on this model, and having to unbind and rebind everything every time I changed the cage would be a pain. I also haven’t found a solution for unexpected behaviour triggered by having mesh deform and armatures at the same time.

I also just need to get better. The mesh quality is just not good enough. It doesn’t hold up to close ups and the anatomy isn’t good enough. Especially the legs. I’m not good at them.

Plus, I need to work out a better way to do the colours. I mixed them individually where needed, but because each colour has a set of values to go with it, it’s inconvenient. It’s just awkward. I could use two masks, one for total main colour and one for total shadow, but I worry it would damage the watercolour effect I’m going for, being too perfect and clean, whereas with multiple colours, the masks can be modified, such as adding edge soak at the borders, etc.

Lastly, I need to change how I’ll alter shading. The shader just won’t perform well enough to modify it in realtime with vertex paint as I’d wanted to. My experience of Blender’s texture painting makes me think it probably won’t handle using the texture-based method in a real scene, either. Normal editing is a nuisance, though. I’m uncertain what to do about it.

Still, I want to work something out. I’m making progress. I just wish I didn’t feel like I was constantly at the “If it was just a bit better…” Stage.

Mirror Ryou and Painterly Compositing

A few month few months ago, after having used Cycles for a while, I was frustrated by its lack of support for NPR features. Being designed for realistic rendering, it didn’t lend itself well to stylised renders. But I came across this post in a thread on BlenderArtists, which inspired me to consider ways to use the compositor.

A watercolour and pencil render using Blender’s compositor, by System on the BlenderArtists forum.

So I spent a few weeks trying to work out various ways I could use it. My aim was to create a painterly style, or some approximation of it, using the compositor.

My own replication of that technique.

I started by replicating that affect to familiarise myself with it, then doing my own thing from there. After having spent several weeks trying different thing, I came up with my own effect, and became very familiar with the advantages and disadvantages of using the compositor to create NPR renders.

The advantages:

  • Compositor changes are relatively quick, and don’t need you to re-render an entre scene, saving a lot of time.
  • Compositor changes allow you to affect the image as a 2D render, rather than having to work out how to make things work in 3d.
  • Compositor changes allow you to use some functions that aren’t available for shaders, such as Dilate/Erode, Sharpen/Soften, Sobel, etc.
  • Using the Compositor allows you to texture an entire image in one go, rather than having to apply it to everything.
  • Allows access to many render passes, allowing you a lot of flexibility.

The disadvantages:

  • Each change takes several seconds to show, particularly with complex compositing.
  • One size especially doesn’t fit all; different scenes, such as bright, dim, interior, exterior, may require significant changes to the compositing to look good, or even maintain a similar appearance.
  • No convenient way to control the main and shadow colours of individual objects.
  • Any change, such as rotating a light, changing size, character posing, etc, will require being re-rendered before the compositing can be tweaked; an issue with shaders, as well.
  • Inconvenient to pull from one file to another; shaders on a 3d model would just come with it when appended.
  • Entirely after the fact; it’s manipulation of render passes after they’ve been rendered to try and change them into the desired result, rather than a shader-based method which would likely be designed to ensure the renderer gives the correct result each time.

After a lot of experimenting, I was able to come up with this render of a 3d model I made of Mirror! Ryou, an au version of a Yugioh character that my friend Milliekou and I came up with.

Mirror! Ryou, rendered in Cycles, modified in the compositor, using Freestyle for the lines.
A gif showing the key stages in my compositing. This model is old now.
  • My process starts by doing the usual render.
  • Then, I get the shading Value by dividing the Value of the original image by the combined Value of the Diffuse, Glossy, etc, passes, which I can use as a factor later.
  • Using the Ambient Occlusion pass and Dilate/Erode nodes, I make a mask and mix the background colour with the original colour of the mesh to fill the general shape of the character, giving it soft edges.
  • I also got the light colour on the object, multiplying it with the original colours and then using the shading Value through a colour ramp to make the main shading on the model. I also used the Dilate/Erode tool to make it less perfectly accurate, as perfectly accurate shading is a dead giveaway.
  • For some texture – a key element, I’ve found, of making something look imperfect and not like a 3d model – I massively sharpened the original shading Value, dilated it, then used a Sobel filter, giving it many rings, that I then multiplied the image with to create some texture and imperfection.

I made some errors here; his belt, for example, should be glossy, but I didn’t combine the passes correctly. But overall I’m pleased with the effect, and would like to replicate it in the future. I want to make it more reliable to be able to make lots more images with that style and perfect it. Although, I’m currently waiting for Blender 2.8 to come out official and get more render passes; being able to replicate this with Eevee, if possible, would be extremely helpful. In the meantime, I’m experimenting against with NPR shaders using it, as it allows many more options. I’ll have another post later about my results with that, and hopefully some more actual art. Ultimately, I’ve found the compositor warrants more investigation, and can be a powerful tool, as long as you realise you’re working around Cycles, not with it.